学无止境 暗网 ubuntu-暗网部署网站 Riv3n 2020-07-02 2025-11-19 1、环境准备
1
2
3
4
apt -y install php7.3 php7.3-common php7.3-cli php7.3-cgi php7.3-fpm \ php7.3-gd php7.3-mysql php7.3-sqlite3 php7.3-pgsql php7.3-opcache \ php7.3-mbstring php7.3-curl php7.3-xml php7.3-xmlrpc php7.3-zip \ php7.3-intl php7.3-json php7.3-bz2
1 apt -y update && apt -y install tor nginx mariadb-server
2、tor 实例配置
1 tor-instance-create wordpress
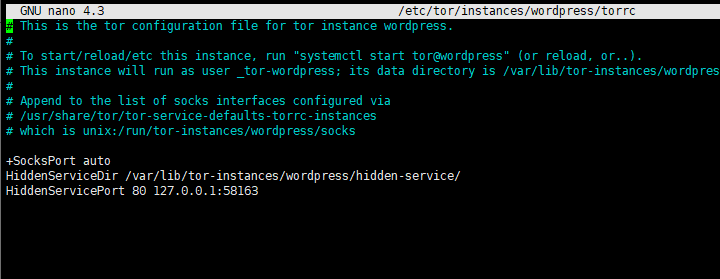
1 nano /etc/tor/instances/wordpress/torrc
写入如下配置:
1
2
HiddenServiceDir /var/lib/tor-instances/wordpress/hidden_service/ HiddenServicePort 80 127.0.0.1:58163
示例:
1
2
systemctl start tor@wordpress systemctl enable tor@wordpress
1 cat /var/lib/tor-instances/wordpress/hidden-service/hostname
正常的话会显示出域名,例如:
3、配置数据库
1 mysql_secure_installation
注:运行命令后弹出第一行可以设置root密码,先设置数据库的root用户密码,然后保存,其他都Y
1
2
3
4
5
mysql -u root -p CREATE DATABASE wordpress CHARACTER SET utf8mb4 COLLATE utf8mb4_unicode_ci; GRANT ALL PRIVILEGES ON wordpress.* TO wordpress@localhost IDENTIFIED BY '设置wordpress用户的数据库密码'; FLUSH PRIVILEGES; quit
4、wordpress下载
1
2
3
4
cd /var/www && wget https://wordpress.org/latest.zip unzip latest.zip 注:没有unzip可以先安装,apt -y install unzip rm -rf latest.zip chown -R www-data:www-data wordpress
5、配置Nginx
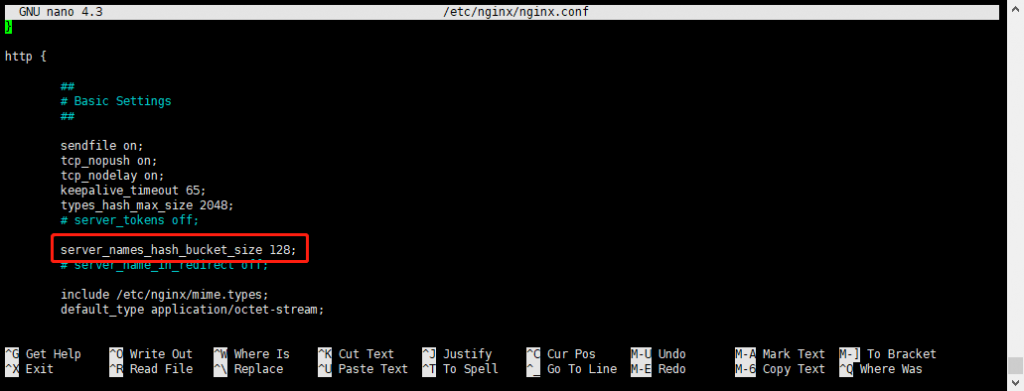
1 nano /etc/nginx/nginx.conf
然后在http{}里添加一行:
1 server_names_hash_bucket_size 128;
例如:
1 cd /etc/nginx/conf.d/ && nano wordpress.conf
写入如下配置后保存:
1
2
3
4
5
6
7
8
9
10
11
12
13
14
15
16
17
18
19
20
21
22
23
24
server { listen 127.0.0.1:58163; server_name pf73h6t33mvp7lsbr2solnfquubswqu65tirjffpty5tmnj46erbo3qd.onion; root /var/www/wordpress; index index.html index.php; client_max_body_size 100M; allow 127.0.0.1; deny all; server_tokens off; location / { try_files $uri $uri/ /index.php?$args; } location ~ \.php$ { fastcgi_pass unix:/run/php/php7.3-fpm.sock; fastcgi_index index.php; fastcgi_param SCRIPT_FILENAME $document_root$fastcgi_script_name; include fastcgi_params; } } 注:server_name 后填写你自己的onion域名
测试:
显示successful即没问题。
启动:
加入自启动:
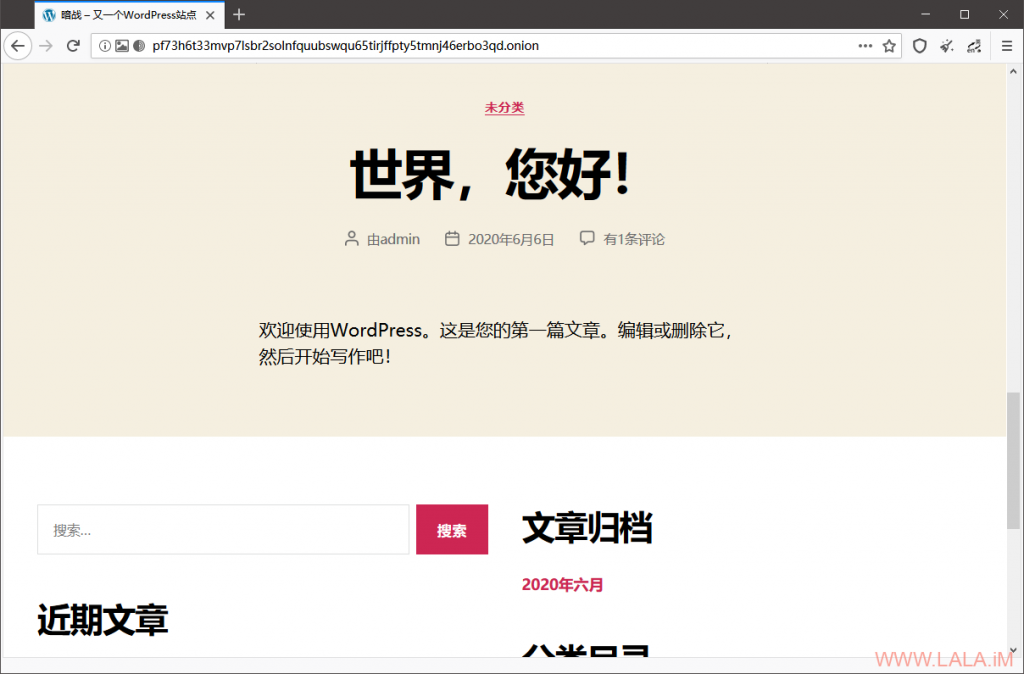
Nginx启动成功后, 打开Tor浏览器访问你的 onion域名 就能浏览到网页了: